How to Record Better YouTube Audio Without Expensive Gear
Room treatment, microphone placement, gain staging, and cleanup steps that improve a voice track more than any upgrade.
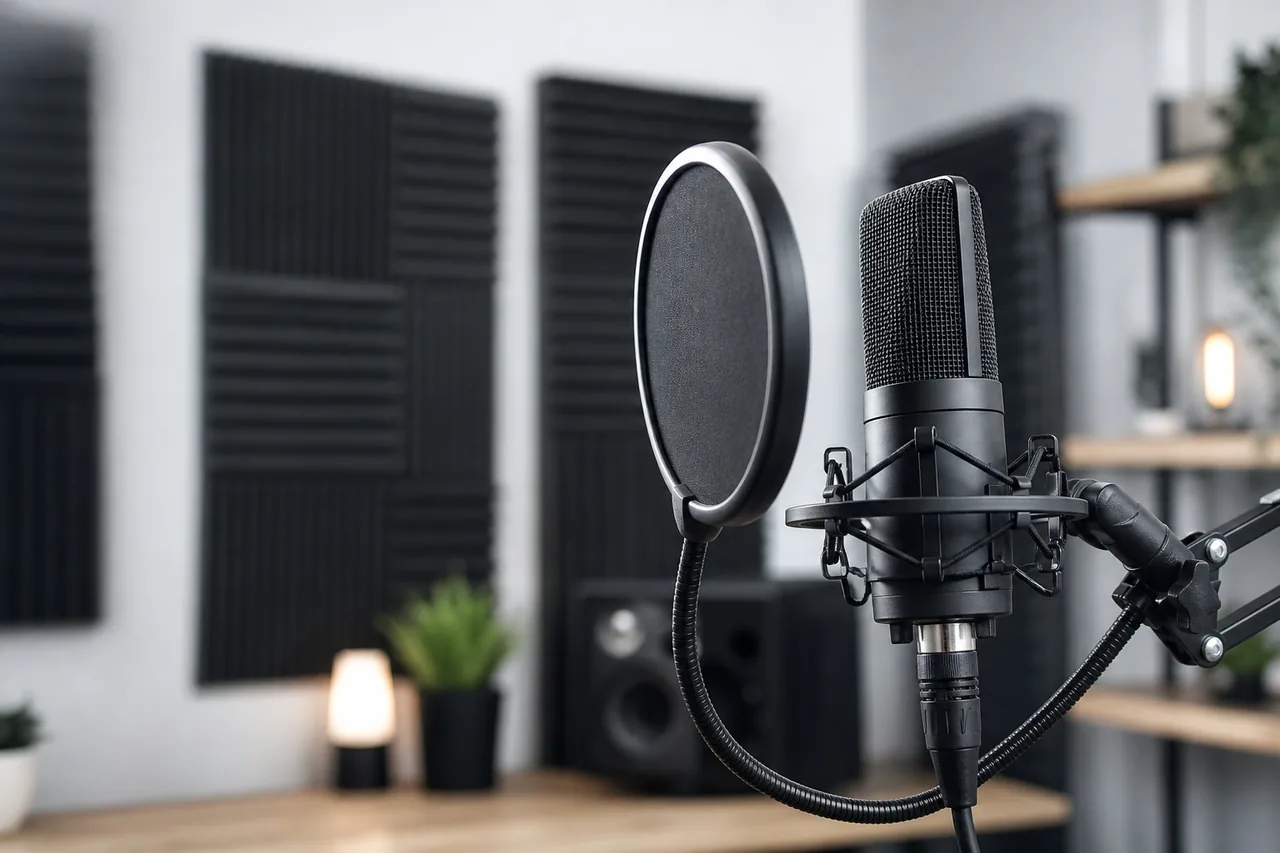
Viewers forgive soft focus and plain backgrounds. They do not forgive echo. Audio quality is the fastest way to make a small channel feel professional, and it is mostly a matter of placement and room, not budget.
Work through these steps in order. Each one removes a problem that later processing cannot fix.
Fix the room before you buy a microphone
A microphone records the room as much as it records you. Hard parallel walls, bare floors, and glass produce reflections that arrive milliseconds after your voice, which the ear hears as distance and boxiness.
- Soften surfaces. A rug, curtains, a bookshelf, and a bed all absorb high-frequency reflections. You do not need acoustic foam on every wall.
- Move away from glass and corners. Speaking toward a corner doubles the early reflections. Face into the room instead.
- Reduce the room size problem. In a large empty space, record from a closet or a soft-furnished small room. Small and soft beats large and bare.
- Silence the building. Switch off fans, air conditioning, and refrigerators on the same circuit. Do this before you tune anything else.
Test the room by clapping once and listening. A short slap is fine; a ringing tail means reflections are dominating.
Match the microphone to the job
For one person at a desk, a cardioid microphone that rejects sound from behind is the practical choice. Dynamic microphones tolerate imperfect rooms; condenser microphones capture more detail and also more room. If your space is untreated, a dynamic microphone close to the mouth usually sounds better than an expensive condenser across the desk.
Place the microphone off-axis, aimed at the corner of your mouth rather than straight down your throat. Fifteen to twenty centimetres is a sensible starting distance. Closer means more low end and more plosives; farther means more room. A pop filter or a foam windscreen is worth more than a new cable.
Use a boom arm or a stand so the microphone stays in the same place between takes. Consistency is what makes a multi-session edit sound like one recording.
Set gain once and stop touching it
Set the input gain so your loudest normal sentence peaks around two-thirds of the meter, with headroom left for a laugh or an emphatic word. Avoid recording so hot that the meter touches the top; digital clipping cannot be repaired.
Then leave the knob alone. If a take is too quiet, move closer or speak up, not the gain. Changing gain mid-session creates level jumps you will have to fix clip by clip.
Disable automatic gain control and noise suppression in your recording software for the master take. Record clean and process later, so you keep the option to change your mind.
Record a clean take and a safety take
Record a few seconds of room tone at the start of every session: silence, same gain, same position. Editors use it to match background noise when cutting gaps, and it makes noise reduction far less destructive.
Then record the full script in one pass if you can. When you flub a line, pause for two seconds, repeat the whole sentence, and keep going. The pause makes the bad take easy to find later. Do not stop and restart the file for every mistake; dozens of tiny files cost more editing time than one long one.
Speak slightly slower than feels natural and finish sentences with full breath. Rushed endings are the most common cause of an unintelligible last word.
Clean up without wrecking the voice
Process in a fixed order and use small moves. A workable chain:
- Cut the silence and remove obvious clicks and mouth noise by hand.
- High-pass filter around the low end to remove rumble and handling noise.
- Light noise reduction only if the room tone is audible. Heavy reduction adds a metallic texture that is worse than the noise.
- Compression with a gentle ratio to even out the distance between loud and quiet words.
- EQ to reduce boxiness and add a little presence, judged on speakers and on phone speakers.
- Loudness normalisation to a consistent target, then check the result against a reference video in your niche.
Compare before and after by toggling the chain on a single sentence. If the processed version sounds thinner or harsher, back off. Processing should make the voice easier to follow, not louder for its own sake.
A short pre-record checklist
Keep this next to the microphone and run it every time: room quiet, phone in another room, microphone at the marked distance, gain unchanged, room tone recorded, water within reach. Ninety seconds of checking prevents a re-record.
One more habit worth building: listen to the finished mix on a phone speaker and on headphones before you export. Phone speakers hide low-frequency problems that headphones expose, and headphones hide the room that a phone speaker emphasises. If both pass, the voice will survive on laptop speakers and earbuds too, which is where most of your audience will actually hear it.
Keep the raw take. Always archive the unprocessed recording next to the project, because a processing decision that sounds good this month is often one you want to reverse in the next. Storage is cheap; a re-record is not.
Good audio is mostly a quiet room, a close microphone, and a level you set once.
If you keep re-recording the same sentence, the problem is usually the sentence, not the microphone. Long clauses with stacked ideas are hard to say and hard to edit. Rewriting the line is faster than repeating it, which is why the script writing guide stresses reading the draft aloud before the session.
With the voice track finished, the next production decision is visual. Our beginner lighting setup guide covers how to light the shot so the image matches the clarity of the sound.