YouTube Video Lighting Setup for Beginners: Start With One Source
Window light, one-key setups, and background separation explained practically, without buying a studio kit you will never unfold.
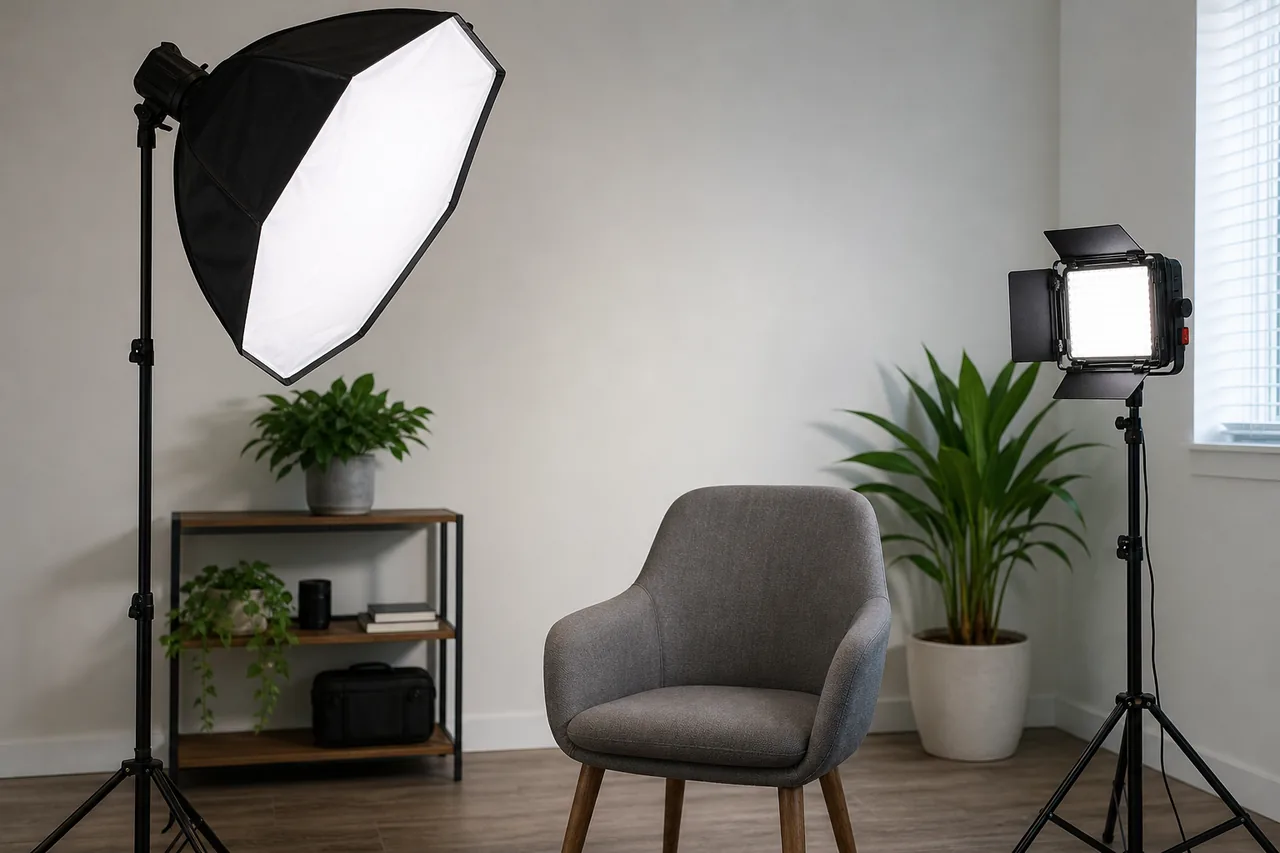
Lighting looks complicated because tutorials show five lamps and a diagram. In practice, most creator videos need one good source, one surface to bounce it, and a background that is not fighting the subject. Everything else is refinement.
Start with the simplest setup that produces a clean image, then add only what solves a visible problem.
Learn what window light can do first
A large window on an overcast day is a soft, broad source that flatters faces. Face the window at a slight angle, roughly thirty to forty-five degrees, so one side of the face is a little brighter than the other. That small difference creates shape; perfectly even light looks flat.
- Keep the camera between you and the window, not in front of it.
- Turn off overhead room lights, which add a second colour and a second direction of shadow.
- Avoid direct sun through the glass; it creates hard shadows and a bright patch that the camera exposes for.
- Note the time of day that gives you consistent light, and record at that time.
Window light has one real limitation: it changes. If your sessions run long or late, an artificial source gives you repeatability.
Build a one-light key setup that repeats
A single soft source placed to one side of the camera, slightly above eye level and angled down, is enough for a talking-head video. The softness comes from the size of the source relative to your face, so a large diffuser close to you is softer than a small bright panel across the room.
- Place the light at about forty-five degrees to your face and just above eye height.
- Move it close enough that the highlight on the cheek is broad, not a thin strip.
- Fill the shadow side with a white board, a wall, or a sheet on the opposite side. Bounce, do not add a second lamp.
- Check the background before adjusting anything else.
If the shadow side is too dark, move the bounce closer rather than raising the key light. Raising the key light adds contrast and hardens the shadow under the nose and chin.
Separate the subject from the background
Depth is what makes a shot look intentional. You can create it in three ways, in order of cost:
- Distance. Move the camera closer to you and further from the wall behind you. This alone fixes most flat-looking setups.
- Falloff. With one light close to you, the wall behind naturally receives less light than your face. That gradient is separation.
- A small background light. A cheap lamp aimed at the wall behind your shoulder, away from your face, adds a pool of light that separates you from the surface.
Keep background elements dim and low-contrast. Bright shelves, a white wall, and a window behind you all compete with your face for the viewer's attention.
Match light to lens, frame, and camera position
Lighting is not independent of framing. A tight head-and-shoulders shot needs a softer, closer source than a wide shot of you at a desk. If you plan to cut between two angles, light both so they look like the same room: same key side, same colour, similar intensity.
Also consider where your hands and objects sit. If you demonstrate something on a desk, add a small light or a bounce from above so the object is not underexposed while your face is correctly exposed. Most cameras expose for the face, and everything else becomes a silhouette.
For vertical versions of the same shoot, check the frame before you move anything. Our aspect ratio calculator helps you confirm the dimensions of each output, but the lighting question is simpler: keep the key light on the same side in every crop so the subject reads consistently.
Avoid the colour temperature mistakes
Mixed colour is the most common beginner problem. A warm desk lamp beside a cool window produces one orange side and one blue side, and no amount of colour correction fully rescues it.
- Set the camera or phone white balance manually to the dominant source instead of leaving it on automatic.
- Keep every light in the shot the same colour temperature, or gel them to match.
- Turn off background lights you are not controlling.
- Check the result on a waveform or histogram if your software offers one, and on a second screen if you have it.
Automatic white balance drifts when something bright enters the frame, which is why a hand or a white shirt can shift the colour of the entire shot mid-take.
Test once, then freeze the setup
Spend one session testing rather than producing. Record short clips at three distances, with and without the bounce, with two background options. Review them on the screen you edit on, pick the version that reads best, then mark the floor and the light stand with tape.
From then on, setup takes two minutes and looks identical every time. That consistency is worth more than any single upgrade, because a channel that looks the same from video to video feels deliberate.
The best lighting setup is the one you can rebuild in two minutes without thinking about it.
Once picture and sound are stable, the remaining time sink is post-production. The guide on editing YouTube videos faster shows where a fixed lighting setup also saves edit time, because fewer shots need correction.